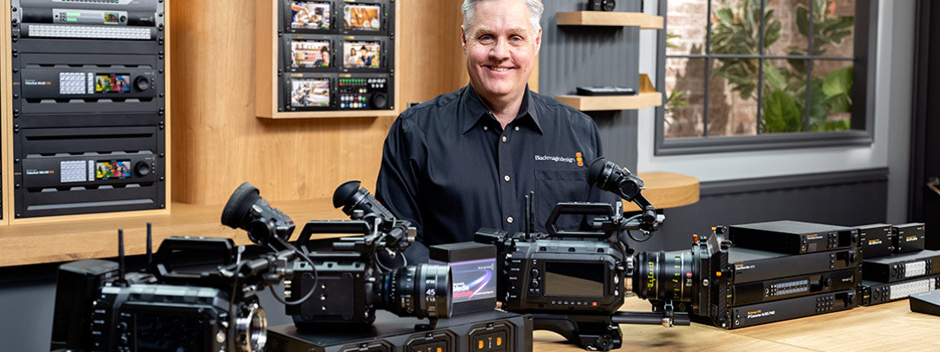
How to use Blackmagic Design PYXIS 6K Cinema Box Camera 6K H.265 and RAW footage in Premiere Pro or Final Cut Pro? If you are looking for an easy and direct way to import and edit Blackmagic PYXIS videos in Adobe and Apple editing software, you may wish to read this post. It guides you through the process of transcoding Blackmagic PYXIS H.265/RAW recordings to H.264 and Apple ProRes codec for editing in Premiere Pro, Final Cut Pro with excellent quality.
A full-frame 6K sensor captures rich colors, accurate skin tones, and a wide 13-stop dynamic range with its expanded 36 x 24 mm sensor. Record both Blackmagic RAW and H.265 proxy files to the cloud or even stream directly to your social media platform of choice via Ethernet or mobile 4G/5G te0chnology. If you can't edit Blackmagic PYXIS 6K videos in Premiere Pro and Final Cut Pro smoothly, or your editing software can't read 6K H.265/RAW footage, Acrok 6K Video Covnerter will give you a hand.
Blackmagic PYXIS 6K Video Covnerter
For those who need to import Blackmagic PYXIS 6K H.265 and RAW videos into Premiere Pro/Final Cut Pro, we would recommend converting H.265/RAW files to editing software best supported codec before loading, which codec Premiere Pro/Final Cut Pro will read and handle well. In this way, you can expect a fast and fluid workflow between Premiere Pro/Final Cut Pro and Blackmagic PYXIS. Read on to find a step-by-step guide talking about how to rewrap Blackmagic PYXIS 6K videos to H.264, Apple ProRes 422/4444 for editing in Premiere Pro/Final Cut Pro natively. Here Acrok Video Converter Ultimate for Mac is your best choice to do this job.
Aside from converting Blackmagic PYXIS 6K files to Premiere Pro/Final Cut Pro native editing codec/format, Acrok 6K Video Converter can also facilitate the conversion of Blu-ray, DVD, AVI, FLV, MOV, VOB, MKV and other files. In fact, this video converter is extremely valuable because it's designed to perform many functions in the digital media world.
Acrok Video Converter Ultimate for Mac
Best Tool to Convert Blackmagic PYXIS H.265/RAW for ediitng in Premiere Pro / Final Cut Pro on Mac
- Easily convert H.265/RAW to H.264, MPEG-2, ProRes or other 500+ video/audio formats without losing quality.
- Edit H.265/RAW file like trimming, cropping, rotating, or adding subtitle, watermark, etc.
- Rip and convert Blu-ray/DVD to any video/audio format with ease.
- Convert MTS, MOV, MP4, MXF footage to other professional editing software, including DaVinci Resolve, iMovie, etc.
- Convert downloaded movies to iPhone, iPad, Smart TV, Apple TV or Android devices easily.
- Compress large videos, create GIF images, convert VR videos, etc.
Free download 6K Video Converter for Blackmagic PYXIS:
Full Guide: Encode Blackmagic PYXIS H.265/RAW for Premiere Pro/Final Cut Pro
The guide below shows how to convert Blackmagic PYXIS files to H.264 and ProRes in Mac. The steps to convert Blackmagic PYXIS footage to Adobe/Apple editing software on Windows is the same. Just make sure you download the right version according to your computer's operating system.
1
Add video files to the converter
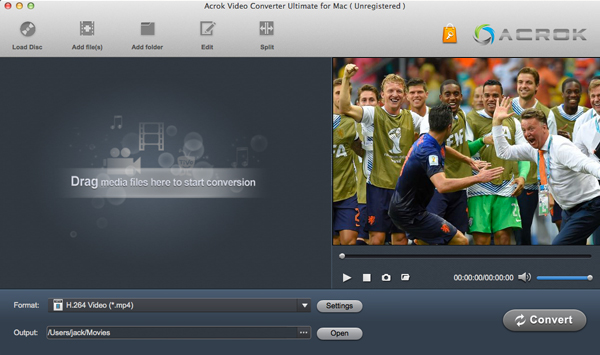
Launch Acrok Video Converter Ultimate for Mac as the best Blackmagic PYXIS 6K Video Converter, and click the "Add Files" button to load Blackmagic PYXIS 6K H.265 and 6K RAW files for converting.
2
Choose output format
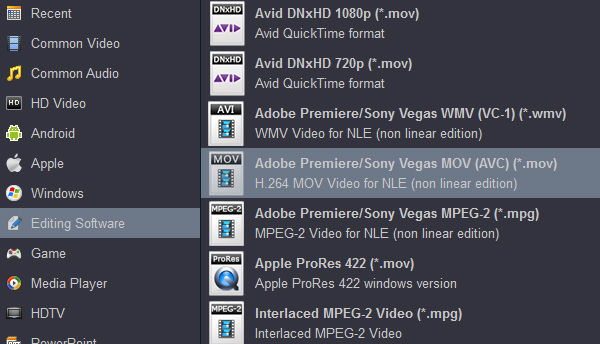
For Final Cut Pro users: Select Apple ProRes 422 MOV or Apple ProRes 4444 MOV under "Final Cut Pro" category.
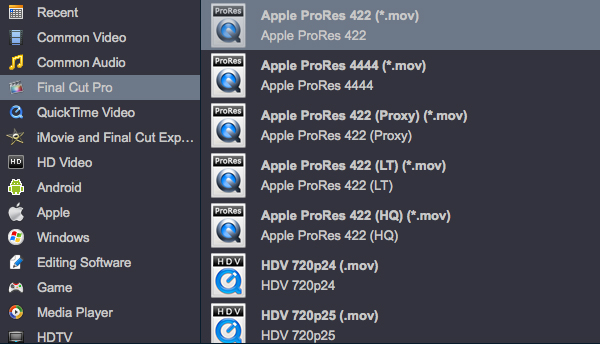
For Adobe Premiere Pro users: Click "Format" bar and then move your pointer Editing Software > Adobe Premiere MOAV AVC (.mov) or Adobe Premiere MPEG-2 (*.mpg) as target format.
3
Start Z CAM E2-F8 video conversion
As soon as all things are finished, please click "Convert" button to start the Z CAM E2-F8 H.265 to Premiere Pro CC native codec conversion on Windows 11. Once the conversion is 100% completed, you can copy the converted Z CAM E2-F8 footage to Premiere Pro CC with smooth workflow.
Additional Tips:
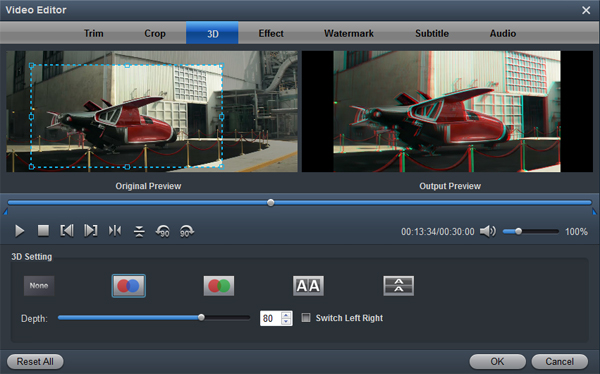
If you want to get 3D video for playing and sharing, you can click Edit icon to add 3D effects onto your loaded Blackmagic PYXIS files. You can also do some editing on the file you want to convert, like cropping unwanted frame from clips, trimming the length of the file, merging separate videos into a new one for your smooth editing.
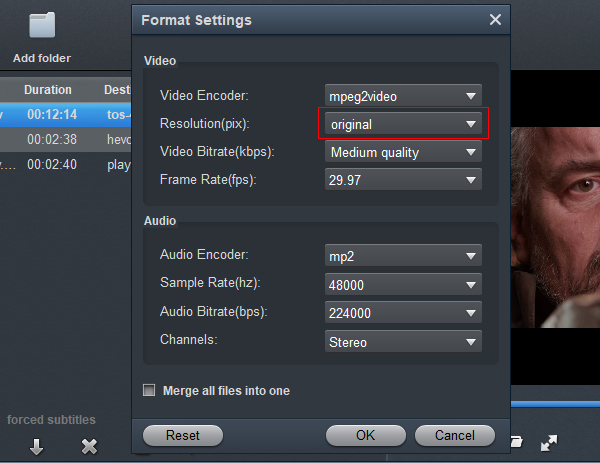
Click the "Settings" icon and you will go into a new interface named "Profile Settings". You can adjust codec, bit rate, frame rate, sample rate and audio channel in the interface according to your needs and optimize the output file quality.
